This article covers the following areas –
- Getting Started with Your Phalaenopsis Orchid
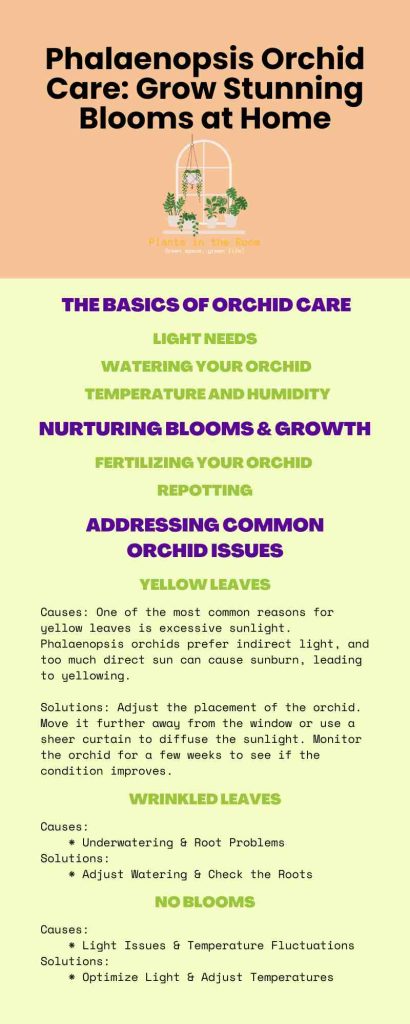
- The Basics of Orchid Care
- Nurturing Blooms and Growth
- Addressing Common Orchid Issues
- Final Thoughts
In my years of growing and nurturing various plants, few have captured my heart, quite like the Phalaenopsis orchid. With their elegant blooms and sleek green leaves, they add a touch of class to any room. And the good news? Taking care of them is easier than you might think. I’m here to share my personal tips on growing and maintaining Phalaenopsis orchids, ensuring that your home is graced with their stunning beauty for years to come.
Phalaenopsis orchids, commonly known as “Moth Orchids,” require specific care to thrive. They flourish in indirect light, prefer a weekly watering routine, and thrive in temperatures of 60-85°F (15-29°C). A balanced orchid fertilizer aids growth, and post-bloom care ensures recurring blossoms.
For a deeper dive into Phalaenopsis orchid care, from choosing the right orchid to addressing common issues, continue reading. Every detail has been crafted to guide you in nurturing vibrant and long-lasting blooms in your own space.
Getting Started with Your Phalaenopsis Orchid
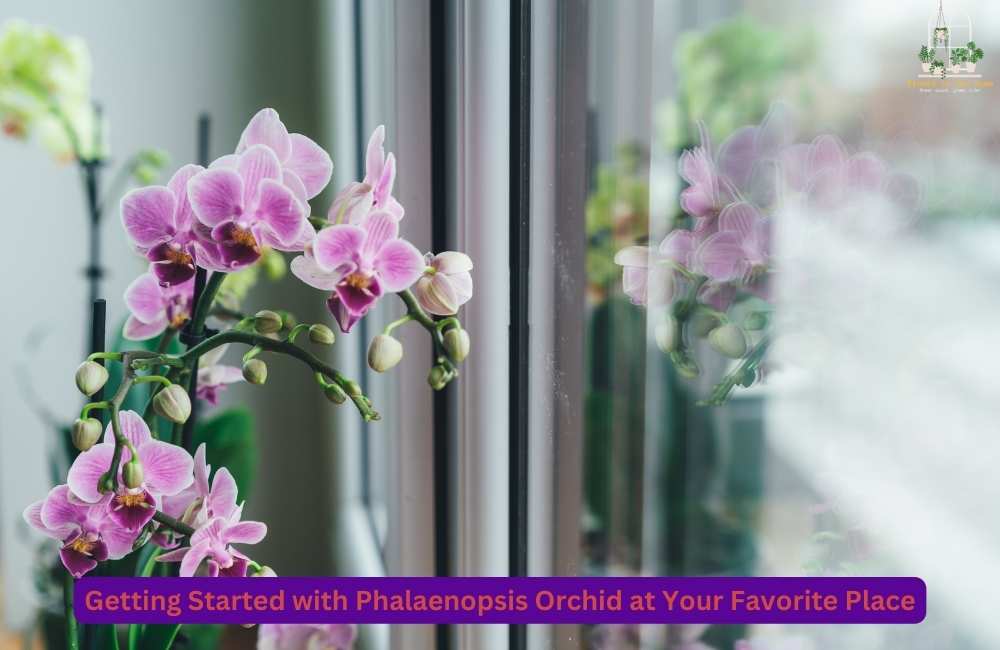
Embarking on the journey of growing Phalaenopsis orchids is like stepping into a world of elegance and beauty. While they’re renowned for their breathtaking blooms, it’s equally essential to understand the basics to ensure they thrive. From choosing the right orchid to picking the perfect pot, these foundational steps pave the way for healthy growth. This section provides insights and easy-to-follow guidelines to make your orchid experience seamless.
Choosing the Right Orchid
The initial selection of your orchid plays a pivotal role in determining its health and vitality. When you’re at a nursery or store, it might be tempting to pick the most visually appealing one, but there’s more to consider:
- Look for Green: Healthy orchids often have firm, bright green leaves. It might indicate poor health if they’re too yellow or extremely dark.
- Inspect the Roots: A robust root system signifies a strong orchid. Look for thick, green, or silvery-white roots. Brown or mushy roots might be a red flag.
- Bud Check: A spike with unopened buds can be a treat, as you’ll enjoy watching them bloom at home.
Picking the Perfect Pot
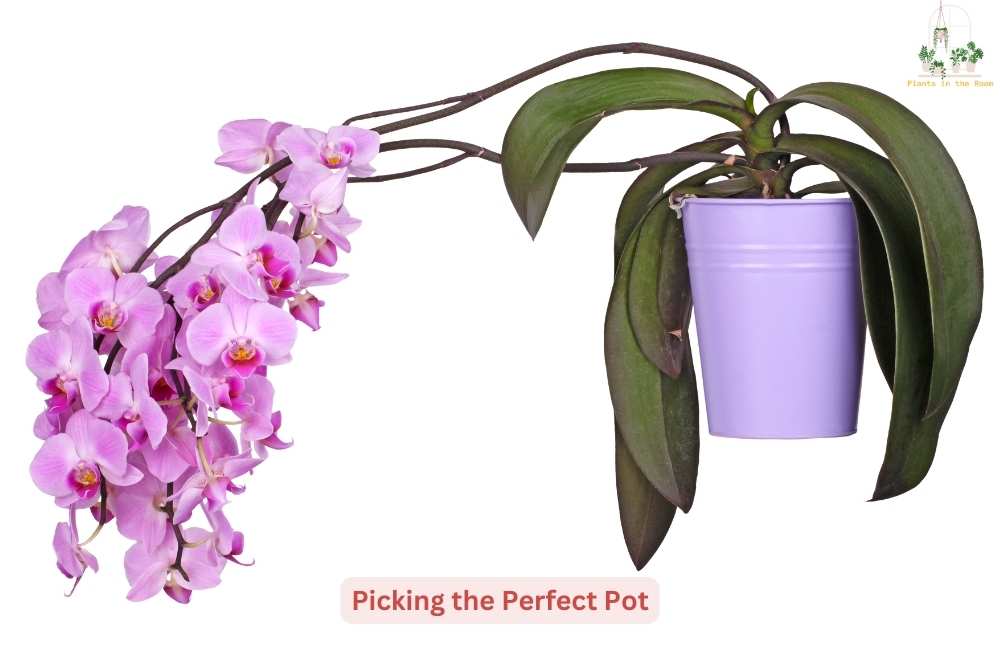
Once you have your orchid, the next step is to ensure it has a comfortable home. Orchids have unique potting needs:
- Breathability: Unlike other plants, orchid roots need to breathe. This means regular pots might not cut it. I discovered that clear plastic pots with plenty of holes ensure adequate aeration and help monitor the root’s health.
- Size Matters: It’s best to select a pot that’s just a bit larger than the root ball. It is too large, and the roots might rot due to excessive moisture.
Understanding the Importance of Medium
Your orchid’s growing medium is as important as the pot. Orchids don’t grow in regular soil. Instead, they thrive in a mix of bark, moss, and other organic materials.
- Bark: Provides excellent aeration and drainage. It’s the most common medium for Phalaenopsis orchids.
- Moss: Retains more moisture, making it ideal for low humidity. But be cautious, as overwatering in moss can be detrimental.
Positioning Your Orchid
Just as we have our favorite spots in our homes, so do orchids.
- Light Source: East or west-facing windows are ideal. They love light, but it should always be indirect.
- Air Flow: A spot with gentle airflow can be beneficial. It reduces the chances of fungal and bacterial diseases but avoids drafty spots.
By taking the time to understand the specific needs of your Phalaenopsis orchid from the beginning, you set the stage for a rewarding gardening experience. As you progress, you’ll realize that while these orchids have unique requirements, with some attention and care, they can be easy to manage and a joy to behold.
The Basics of Orchid Care
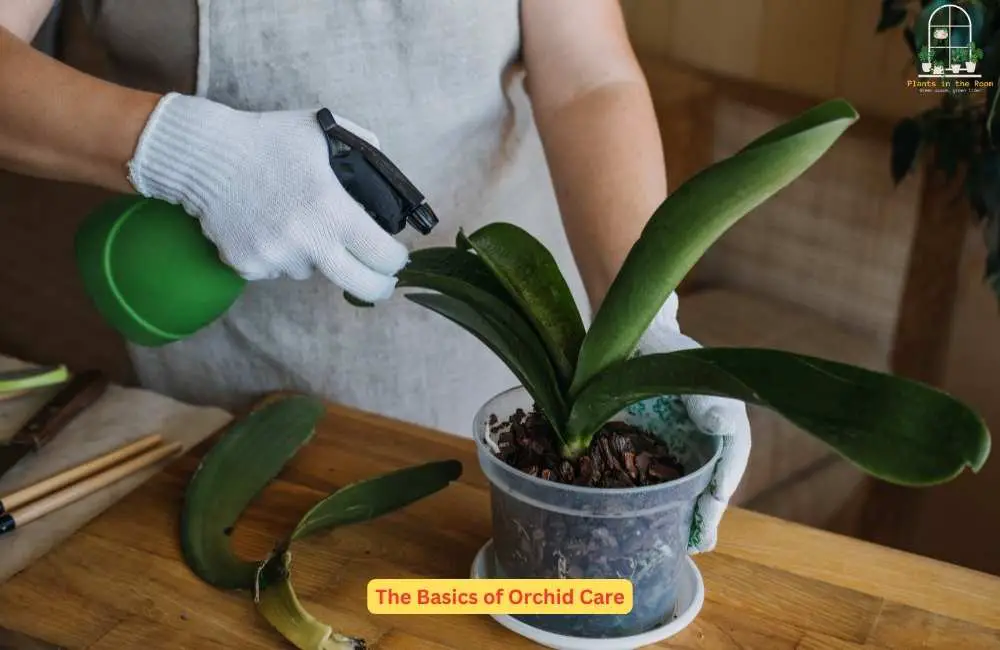
Caring for orchids, especially the Phalaenopsis variety, often feels like nurturing a delicate piece of art. Every element of their environment needs a gentle balance, from the light they receive to the moisture they soak up.
I’ve often considered them the Goldilocks of the plant world: everything has to be ‘just right.’ Delving into the basics of orchid care, you’ll soon discover that while they require a touch of finesse, their needs aren’t overly complicated. Here, we’ll break down the primary aspects of ensuring your orchid flourishes.
Light Needs
Light is the lifeline of plants, and Phalaenopsis orchids are no exception. Their relationship with light, however, is nuanced:
- Intensity: While they love being in well-lit spots, direct sunlight can scorch their leaves. Think of their native tropical forest habitat, where they receive dappled light filtering through trees.
- Positioning: Based on my experience, east or west-facing windows strike a good balance. It offers them plenty of light without the harshness of the midday sun.
- Adjusting: Homes vary, and sometimes, you might find that even an east or west window is too bright. In such cases, sheer curtains or blinds can be a game-changer. They help diffuse the light, offering a gentler illumination.
Watering Your Orchid
Watering is perhaps one of the most debated topics among orchid enthusiasts. Here’s a simple guide:
- Frequency: Unlike some plants, orchids don’t need daily watering. Once a week works wonders for me. However, it’s vital to adapt based on your home’s conditions.
- Technique: Here’s a method, I swear: Place the orchid in a sink and let lukewarm water run through the pot. It ensures the roots get thoroughly soaked without waterlogging the plant.
- Caution: The crown (where the leaves join the stem) is susceptible to rot if water sits in it. Always ensure it’s dry post-watering.
Temperature and Humidity
Phalaenopsis orchids appreciate the tropical vibes:
- Day vs. Night: Orchids prefer a slight drop in temperature at night. It mimics their natural habitat and can even stimulate blooming. I keep mine in the daytime range of 75-85°F (24-29°C) and nighttime temperatures of 60-70°F (15-21°C).
- Humidity Hacks: Orchids relish humidity. If you live in a dry region or during winter months, there are ways to boost moisture levels:
- Humidity Trays: These are shallow trays filled with water and pebbles. Place your orchid on top, ensuring the pot isn’t touching the water. As the water evaporates, it increases the humidity around the orchid.
- Misting: A gentle mist around the orchid (not directly on it) can help, too. However, avoid overdoing it, as excessive moisture can lead to fungal issues.
You’ll find the best rhythm by understanding these essentials and observing your orchid’s response. Orchids might be a bit finicky, but the joy of watching them bloom makes all the effort worthwhile.
Nurturing Blooms and Growth

The beauty of an orchid isn’t just in its blooms but in the journey it takes to get there. An orchid’s life cycle is a dance of growth, rest, and resurgence. And as caretakers, we play a significant role in orchestrating this rhythm. In this segment, we’ll explore how to foster an environment for those sought-after blooms and ensure your Phalaenopsis orchid thrives year after year.
Fertilizing Your Orchid
While orchids get a lot from their environment, sometimes they need a little extra. Here’s my approach to nourishing them:
- Why Fertilize? Like humans benefit from a balanced diet, orchids need various nutrients to grow and bloom. Regular feeding ensures they don’t miss out on any essential minerals.
- Type of Fertilizer: A balanced orchid fertilizer is crucial. This means it contains an even mix of Nitrogen, Phosphorus, and Potassium – the primary nutrients all plants crave.
- Frequency and Strength: I find that feeding them every other week works best. But remember to dilute the fertilizer. Think of it as gently nourishing your orchid rather than overwhelming it.
What to Do After Blooming
The end of a blooming cycle isn’t a sign your orchid’s glory days are behind it. Here’s how I manage post-bloom care:
- Handling the Spike: If it is still green, I often cut it just above a node (a small bump on the stem). This can encourage the growth of a secondary spike. Sometimes, I’m rewarded with more flowers!
- Letting the Plant Rest: If the orchid seems a bit weary or the spike turns brown, I break it by cutting it down to the base. This allows the plant to redirect its energy to root growth and overall health.
Repotting
Repotting isn’t just about giving your orchid new soil; it’s an overall health check:
- When to Repot: Typically, every two years is a good interval. However, if the medium looks decomposed or if the orchid starts growing over the edge of the pot, it’s time for a change.
- Procedure: Gently remove the orchid from its pot and shake off the old medium. Trim any dead or rotten roots. Then, place the orchid in a new pot with fresh medium, ensuring it’s positioned at the same depth as before.
- Post-Repot Care: Water the orchid thoroughly after repotting. Keep an eye on it over the next few weeks to ensure it adjusts well to its new home.
Caring for a Phalaenopsis orchid is much like nurturing a relationship. The rewards are plentiful with consistent care, understanding, and a little patience. And remember, every orchid has its rhythm. The joy lies in discovering and syncing with it.
Addressing Common Orchid Issues
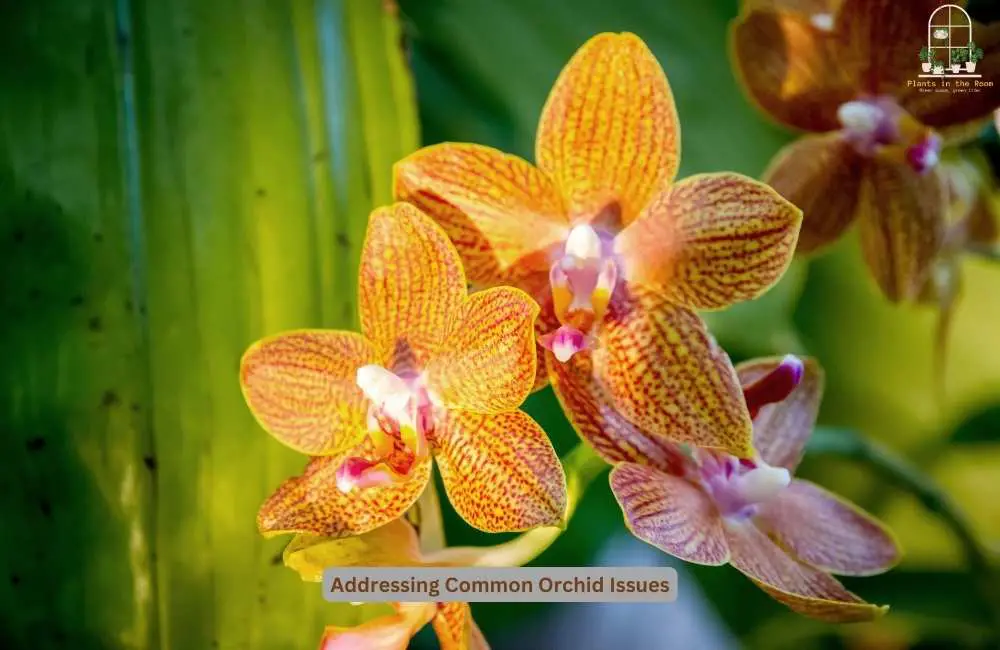
Every orchid lover, including me, has faced moments of concern. An unexpected yellow leaf, a bud that refuses to bloom, or wrinkles that seem to form overnight. Just like us, orchids have their way of communicating when things aren’t right.
Over the years, I’ve learned to read and address these signs, ensuring my Phalaenopsis orchid remains vibrant and healthy. Here’s a simple guide to understanding and solving some common orchid issues.
Yellow Leaves
While a naturally aging lower leaf might turn yellow before dropping off, when other leaves start yellowing, it’s a call for attention:
- Cause: One of the most common reasons for yellow leaves is excessive sunlight. Phalaenopsis orchids prefer indirect light, and too much direct sun can cause sunburn, leading to yellowing.
- Solution: Adjust the placement of the orchid. Move it further away from the window or use a sheer curtain to diffuse the sunlight. Monitor the orchid for a few weeks to see if the condition improves.
Wrinkled Leaves
Those unsightly wrinkles are the orchid’s way of saying it’s thirsty or facing root issues:
- Causes:
- Underwatering: If you’ve been forgetting the watering schedule or not watering adequately, the orchid may be dehydrated.
- Root Problems: Damaged or rotting roots can’t absorb water efficiently, leading to dehydrated plants even if you’re watering regularly.
- Solutions:
- Adjust Watering: If underwatering is the issue, adapt your watering routine. Make sure the orchid gets a thorough soak without sitting in stagnant water.
- Check the Roots: Unpot the orchid and inspect the roots. Healthy roots should be firm and either green (when wet) or silvery (when dry). Trim away any mushy or rotten roots and repot the orchid in fresh medium.
No Blooms
One of the biggest heartbreaks is when an otherwise healthy-looking orchid refuses to bloom:
- Causes:
- Light Issues: Orchids need adequate light to bloom. If they’re placed in too dark a spot, they might not have the energy to produce flowers.
- Temperature Fluctuations: A difference between day and night temperatures can trigger blooming. If the orchid is kept at a constant temperature, it might not receive the signal to bloom.
- Solutions:
- Optimize Light: Move the orchid to a brighter spot, but ensure it receives indirect light. An east or west-facing window is often ideal.
- Adjust Temperatures: Introduce a slight temperature drop at night. This can be done by moving the orchid to a cooler room during the night or by slightly opening a window.
The secret to addressing orchid issues lies in observation and patience. While these guidelines are a starting point, every orchid and home environment is unique. Over time, with a bit of trial and error, you’ll learn to understand your orchid’s specific needs and nuances, ensuring it thrives for years to come.
Final Thoughts
Caring for Phalaenopsis orchids is a rewarding journey that brings forth stunning blooms and a sense of accomplishment. By understanding the orchid’s natural habitat and needs, anyone can cultivate these beauties at home.
The keys to success lie in consistent care, keen observation, and a bit of patience. Remember, every orchid has its rhythm and personality; the joy is in discovering and harmonizing with it. As you continue to tend to your orchid, it will, in return, grace your home with its mesmerizing presence, serving as a testament to the beauty of nature and the rewards of dedicated care.