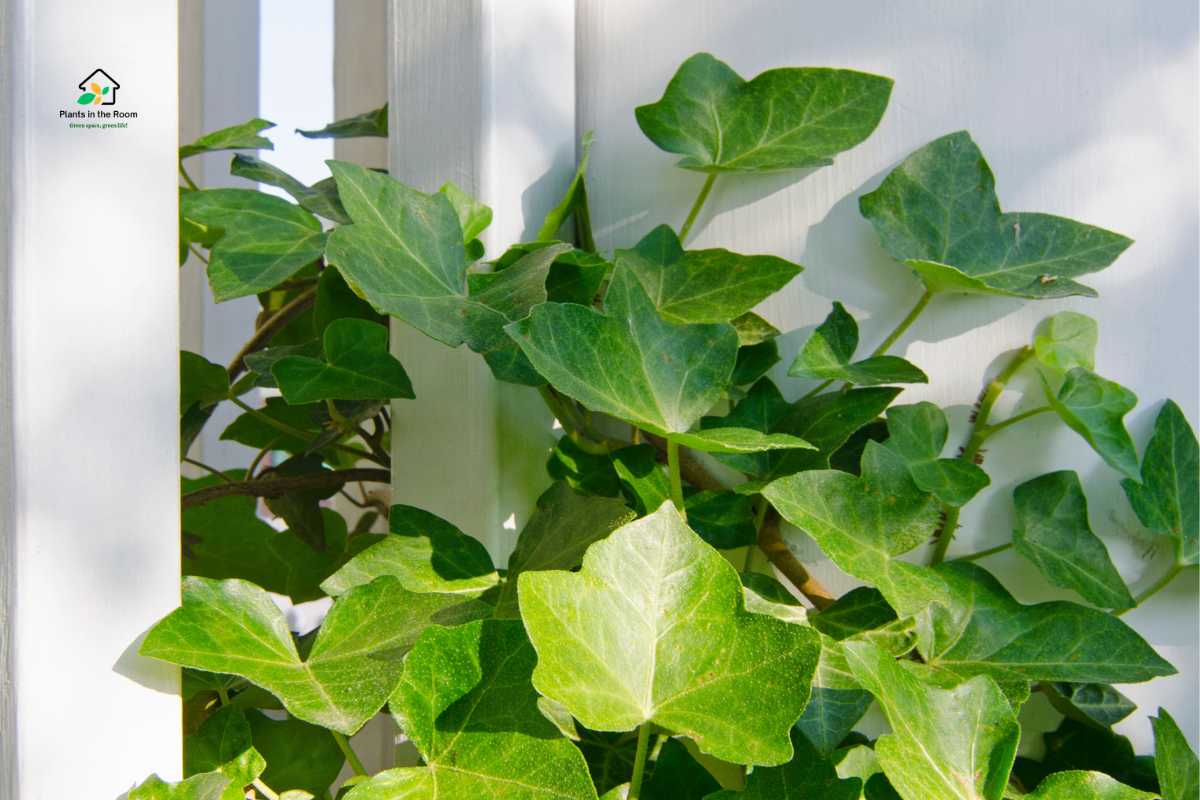
As a passionate plant lover and indoor gardener, I have a special place in my heart for English ivy. This versatile, evergreen vine is a popular choice for indoor settings, and with the right care, it can truly transform your living space. In this post, I’ll share my top tips for English ivy care, covering everything from selecting the perfect spot to watering, fertilizing, pruning, and more.
English Ivy thrives in bright, indirect sunlight and prefers well-draining, loamy soil. Water when the top inch of soil feels dry, and maintain a temperature of 60-75°F (15-24°C) with moderate humidity. Fertilize monthly during the growing season with a diluted balanced liquid fertilizer.
Keep reading the post till the end to learn more about English Ivy care and tips for maintaining a healthy, vibrant plant.
Selecting the Ideal Location for Your Indoor Ivy
To truly enjoy English ivy’s beauty and ensure its health, it’s crucial to provide your ivy with the right conditions. Here, I’ll discuss the three essential factors to consider when choosing the perfect location for your indoor English ivy: lighting, temperature, and humidity.
Lighting
When it comes to English ivy care, finding the right spot with proper lighting is crucial. English ivy thrives in bright, indirect light, so choose a spot near a north or east-facing window. Avoid placing your ivy in direct sunlight, as this can cause the leaves to scorch.
Temperature
English ivy prefers a consistent temperature between 60-75°F (15-24°C). Avoid placing your ivy near drafty windows, doors, or air vents, as sudden temperature changes can stress the plant.
Humidity
English ivy appreciates a humid environment, so try to maintain a humidity level of around 40-50%. You can increase humidity around your ivy by placing a tray filled with water and pebbles beneath the pot or using a humidifier in the room.
Watering Your English Ivy

Proper watering is a crucial aspect of maintaining a healthy and vibrant English ivy. Both underwatering and overwatering can lead to various issues that can stress your plant or even cause its demise. Understanding the right watering frequency and technique for your English ivy can significantly contribute to its overall well-being.
Frequency
English ivy is particularly sensitive to watering, and striking the right balance is key to keeping it in top shape. To determine when your ivy needs water, feel the top inch of the soil with your finger. If it’s dry, it’s time to water the plant.
Generally, this translates to watering once or twice a week, depending on factors such as the season, indoor temperature, and humidity levels in your home. Remember that during the warmer months or when the air is dry, you may need to water your ivy more frequently.
Technique
Watering your English ivy is not just about frequency; the technique also plays a significant role in maintaining a healthy plant. When watering, use room-temperature water to avoid shocking the plant’s roots.
Make sure to water the plant evenly and thoroughly, allowing the water to drain freely from the bottom of the pot. This prevents the ivy from sitting in standing water, which can lead to root rot, a common issue among indoor plants.
After watering, don’t forget to empty the saucer under the pot. Allowing the plant to sit in a saucer filled with water can cause the soil to remain soggy, which can also contribute to root rot. Regularly check the saucer, especially after heavy watering, to ensure your ivy stays healthy.
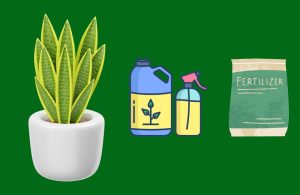
Fertilizing Your English Ivy
Fertilizing your ivy is essential for promoting healthy growth, ensuring vibrant foliage, and maintaining its overall vitality. In this section, I’ll discuss the fertilizer frequency and the types of fertilizers best suited for your English ivy.
With the right nutrients and care, you can enjoy a thriving, beautiful ivy that elevates the aesthetic of your indoor garden.
Frequency
Apply a balanced, liquid houseplant fertilizer diluted to half strength once a month during the growing season (spring and summer). Reduce fertilization to once every two months during the dormant season (fall and winter).
Type of Fertilizer
Choose a balanced, liquid houseplant fertilizer with an N-P-K ratio of 20-20-20 or similar. This provides the right balance of nitrogen, phosphorus, and potassium to support healthy growth and foliage development.
Pruning and Training Your English Ivy to Grow
Pruning and training your ivy are essential aspects of its care, helping to maintain the desired shape, size, and direction of growth. Let’s learn some pruning and training techniques now.
Pruning
Regular pruning is a vital part of English ivy care, as it helps maintain the plant’s shape and encourages bushier growth. Use clean, sharp scissors or pruning shears to trim back any long or leggy stems, cutting just above a leaf node. Prune your ivy as needed throughout the year to maintain your desired shape and size.
Training to Grow
If you want to train your English ivy to grow up a trellis or along a windowsill, use plant ties or clips to gently secure the stems to the support structure. Be sure to periodically check and adjust the ties as the plant grows to prevent constriction.
Repotting Your English Ivy
As your English ivy thrives and grows; it may eventually outgrow its current pot and require a new home to continue flourishing. Repotting your ivy not only provides it with more space to grow but also refreshes the soil and ensures the plant receives proper nutrients.
When to Repot
As your English ivy grows, it may become root-bound and require a larger pot to support its growth. Keep an eye out for signs that it’s time to repot, such as roots growing out of the drainage holes, the plant becoming top-heavy, or a noticeable decline in growth. Typically, you should repot your ivy every 2-3 years.
Choosing a New Pot
Select a new pot that is 1-2 inches larger in diameter than the current one. Ensure that the pot has drainage holes to prevent waterlogged soil. When repotting, choose a well-draining, high-quality potting mix that is suitable for indoor plants.
Repotting Process: 9 Steps to Follow
Repotting means providing the plant with the space and nutrients it needs to continue thriving. Here, I’ll take you through a detailed, step-by-step process for repotting your English ivy to ensure a smooth transition to its new home.
Step 1: Prepare Your Workspace
Before you begin repotting, clear a workspace and lay down some newspaper or a plastic sheet to catch any spilled soil. Gather your materials, including a new pot, fresh potting mix, a trowel or a gardening fork, and a pair of gloves.
Step 2: Remove the Ivy from Its Current Pot
Water your ivy well a few hours before repotting to help it slide out of the pot more easily. Gently tilt the pot on its side and carefully slide the plant out, supporting the root ball with your hands. If the ivy is tightly root-bound, you may need to tap the pot gently or use a gardening fork to loosen the soil around the edges.
Step 3: Inspect and Untangle the Roots
Examine the root ball for any damaged or rotting roots, trimming them away with clean, sharp scissors or pruning shears. Carefully untangle any tightly wound roots using your fingers or a gardening fork, taking care not to damage the healthy roots.
Step 4: Prepare the New Pot
Select a new pot that is 1-2 inches larger in diameter than the current one. Ensure that the pot has drainage holes to prevent waterlogged soil. Place a piece of mesh or a coffee filter at the bottom of the pot to cover the drainage holes, which will prevent soil from escaping while still allowing water to drain freely.
Step 5: Add Fresh Potting Mix
Fill the new pot with a fresh, well-draining, high-quality potting mix suitable for indoor plants, leaving enough space to accommodate the root ball. Create a small depression in the center of the soil where the root ball will sit.
Step 6: Position the Ivy in the New Pot
Place the ivy in the new pot, positioning it at the same soil level as it was in the previous pot. Ensure that the top of the root ball is about an inch below the rim of the pot to allow space for watering.
Step 7: Fill in the Gaps
Gently fill in the gaps around the root ball with a more fresh potting mix, tamping it down lightly to remove air pockets. Be careful not to pack the soil too tightly, as this can limit root growth and water penetration.
Step 8: Water Thoroughly
After repotting, water the ivy thoroughly to help it settle into its new home and ensure good contact between the roots and the fresh soil. Allow the excess water to drain from the pot, and then empty the saucer to prevent waterlogged soil.
Step 9: Monitor Your Ivy
Keep an eye on your repotted English ivy over the next few weeks, as it may experience some transplant shock. Monitor its watering needs closely and provide it with bright, indirect light. Be patient, as it may take some time for the plant to fully recover and resume vigorous growth.
Common Pests and Diseases

English ivy is relatively hardy, but it can be susceptible to a few common pests and diseases. Proper care and regular maintenance can help keep these issues at bay.
Pests
Aphids, spider mites, and scale insects are some of the most common pests that can infest your English ivy. To prevent and treat pest infestations, regularly check your plant for signs of pests and treat any issues promptly with insecticidal soap or neem oil.
Diseases
Root rot, leaf spot, and powdery mildew are some common diseases that can affect English ivy. To prevent these issues, avoid overwatering, ensure proper drainage, and maintain good air circulation around your plant.
If you notice signs of disease, remove affected leaves and treat the plant with a fungicide if necessary.
Propagating Your English Ivy
One of the joys of English ivy care is how easy it is to propagate and share with friends or expand your collection. Here’s a simple method for propagating your ivy.
- Select a healthy, vigorous stem from your English ivy and use clean, sharp scissors to cut a 4-6 inch section, making the cut just below a leaf node.
- Remove the leaves from the lower half of the cutting and dip the cut end into rooting hormone powder. Place the cutting in a small pot filled with moist, well-draining potting mix, burying the lower half of the stem.
- Place the pot in a warm, bright location with indirect light. Cover the pot with a clear plastic bag to create a mini-greenhouse, which helps maintain humidity. Check the cutting regularly and water as needed to keep the soil moist but not soggy.
- After 4-6 weeks, the cutting should develop roots and begin to show new growth. At this point, you can remove the plastic bag and care for your new English ivy plant as you would for a mature plant.
In Conclusion
English ivy care may seem daunting at first, but with a little attention and the right conditions, your indoor ivy can flourish and become a beautiful addition to your home. By following these essential tips, you’ll be well on your way to boosting your plant’s health and appearance.
Get to Know Your English Ivy
| Indicator | English Ivy (Hedera helix) |
|---|---|
| Family | Araliaceae |
| Genus | Hedera |
| Common Name | English Ivy, Common Ivy |
| Origin | Europe, Western Asia, and Northern Africa |
| Plant Type | Evergreen, Climbing, Groundcover |
| Mature Size | Varies depending on support; can reach up to 100 feet (30 meters) in height, 1-2 feet (30-60 cm) in spread |
| Growth Rate | Moderate to Fast |
| Light Requirements | Bright, indirect sunlight; can tolerate low light conditions |
| Watering Requirements | When the top inch of soil feels dry; approximately once or twice a week |
| Soil Preference | Well-draining, loamy or peaty soil |
| Temperature Tolerance | 60-75°F (15-24°C) |
| Humidity Tolerance | Moderate humidity (40-50%) |
| Fertilization | Monthly during the growing season, diluted balanced liquid fertilizer |
| Propagation | Stem cuttings, layering |
| Pests | Spider mites, aphids, mealybugs |
| Diseases | Root rot (caused by overwatering), leaf spot, powdery mildew |
| Toxicity | Toxic to humans and pets (can cause skin irritation in humans, vomiting and diarrhea in pets) |
| Special Features | Attractive foliage, air-purifying, versatile growth habits |
| Popular Uses | Indoor decoration, wall or trellis climbing, groundcover, hanging baskets |
I believe this article has provided you with valuable information for maintaining a healthy and vibrant English Ivy! I encourage you to share your thoughts, personal experiences, and any additional tips you may have in the comments section below.
Happy gardening!