This article covers the following areas –
- Understanding the Croton Plant
- Light Requirements
- Watering and Humidity
- Soil and Fertilization for Croton Plants
- Croton Plant Pruning and Propagation Techniques
- Common Pests and Diseases of Your Crotons
- Temperature and Air Circulation for Croton Plants
- Guide to Repotting Your Croton Plant: 9 Steps to Follow
- Final Thoughts
- Get to Know Your Croton Plant
As a passionate gardener and plant enthusiast, I have always been fascinated by the stunningly vibrant and colorful foliage of the croton plant (Codiaeum variegatum). I’ve spent years cultivating and learning about the best ways to care for these plants, and I want to share my knowledge with you. In this article, I will walk you through the essentials of Croton plant care.
Croton plants thrive in bright, indirect light and require regular watering, allowing the top inch of soil to dry. Use well-draining, slightly acidic soil (pH 6.0-6.5) and maintain temperatures of 60-85°F with moderate to high humidity. Fertilize every 4-6 weeks during the growing season.
Now, we’ll delve into specific tips and tricks to help you address common challenges to make the most of these vibrant, tropical plants. Keep reading to learn all about keeping your Croton plants thriving all year round!
Understanding the Croton Plant
Before diving into the care specifics, it’s important to have a basic understanding of what a croton plant is. Native to Southeast Asia, crotons are tropical evergreen plants with spectacular, multicolored foliage.
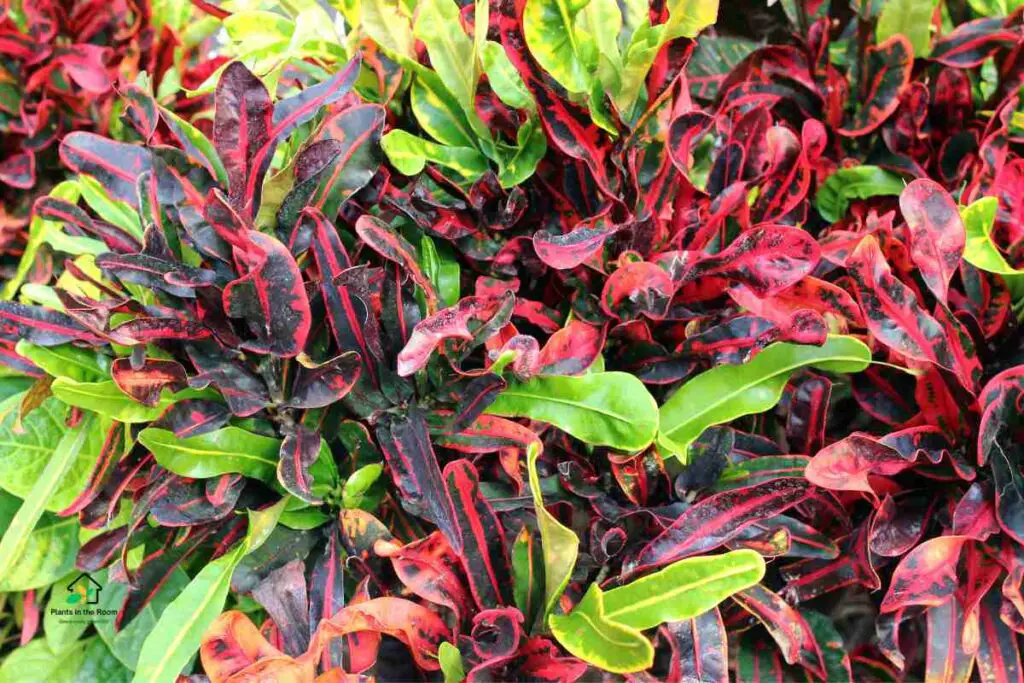
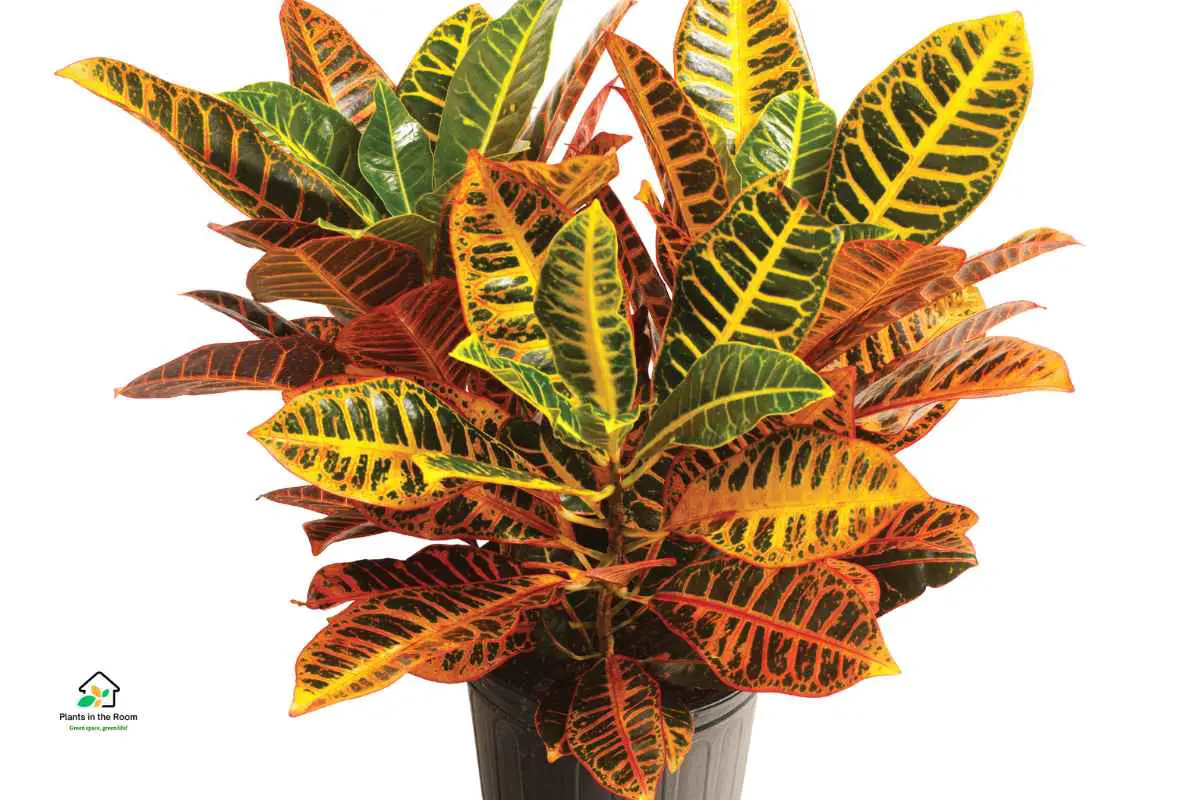
The leaves come in various shades of green, red, orange, yellow, and even purple, with many different patterns and shapes. They can grow both indoors and outdoors, depending on your location and climate.
The Croton plant is perfect for brightening up your home or garden, adding a touch of the tropics to your space.
Light Requirements
One of the most critical factors in keeping your Croton plants thriving is providing them with adequate light. Crotons need plenty of bright, indirect sunlight to maintain their vibrant colors and healthy growth.
In indoor spaces, place your croton near a south or west-facing window that receives a good amount of sunlight, but make sure it’s not exposed to direct, harsh sunrays, as this may scorch the leaves.
Watering and Humidity

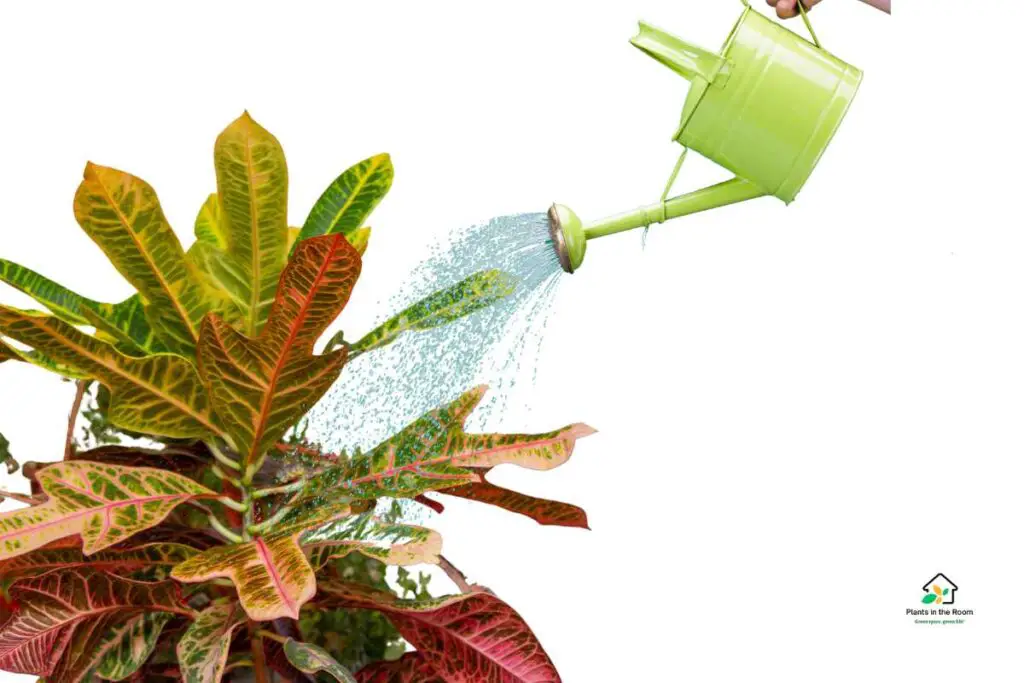
Consistent moisture and adequate humidity are crucial for maintaining the health and vibrancy of your Croton plants. Here’s a more detailed look at these aspects, along with some helpful tips to ensure optimal conditions for your crotons.
Tips for Watering Croton Plants
- Check the soil moisture: Before watering, make sure to check the soil’s moisture level by sticking your finger an inch into the soil. If it feels dry, it’s time to water your Croton plant.
- Use the right watering technique: Water your Croton plant thoroughly, ensuring the water reaches the root zone. It’s best to water the plant until you see excess water draining out of the pot’s bottom.
- Monitor your plant’s needs: Pay attention to your Croton plant’s appearance and growth to gauge its watering needs. Wilted or yellowing leaves may indicate a need for more frequent watering.
- Adjust your watering schedule seasonally: Be prepared to change your watering schedule depending on the season. Warmer months typically require more frequent watering, while cooler months demand less.
Tips for Maintaining Humidity for Croton Plants
- Pebble tray: Fill a tray with water and pebbles, placing your Croton plant on top, ensuring the pot doesn’t sit directly in the water. The evaporating water will help increase humidity around the plant.
- Humidifier: If your indoor environment is particularly dry, consider using a humidifier to maintain higher humidity levels for your Croton plant.
- Misting: Mist your Croton plant’s leaves a few times a week using a spray bottle filled with water. This can help provide additional humidity, especially during dry periods.
- Grouping plants: Place your Croton plant near other humidity-loving plants to create a more humid microclimate. The plants will naturally release moisture through a process called transpiration, which can help maintain a higher humidity level.
Soil and Fertilization for Croton Plants
Proper soil and fertilization play a crucial role in the overall health and well-being of your Croton plants. These vibrant, tropical plants require specific conditions in terms of soil composition, drainage, and nutrient supply to grow and maintain their striking, colorful foliage. In this section, we’ll explore the essential aspects of soil and fertilization for croton plants.
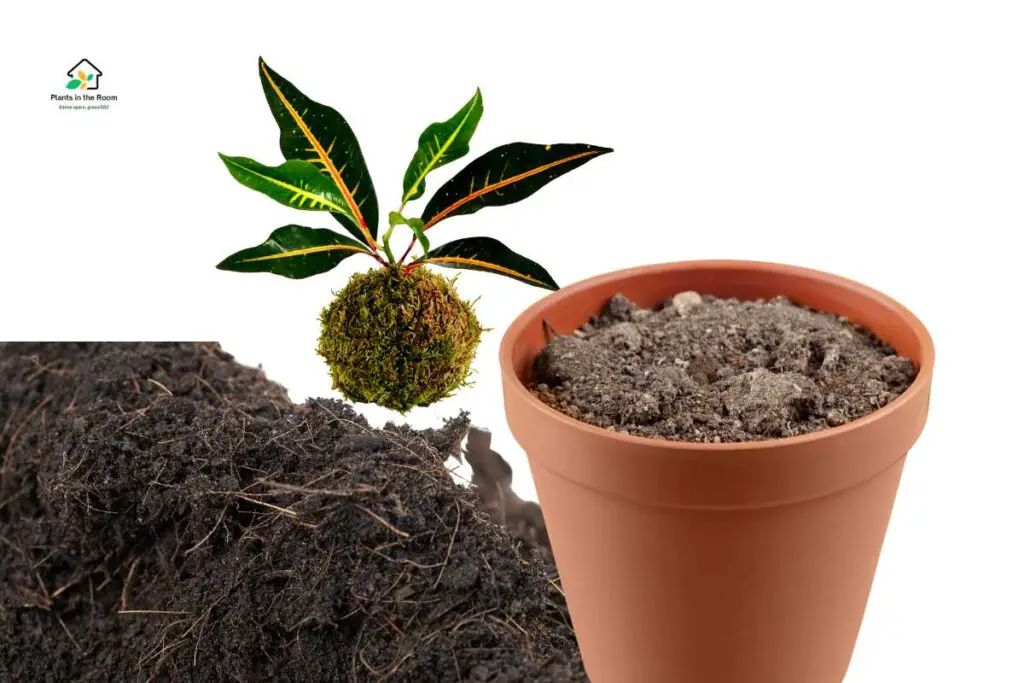
- Choose the right potting mix: Opt for a high-quality potting mix specifically designed for indoor or tropical plants, as these mixes often contain the right balance of nutrients and drainage for croton plants.
- Improve drainage: To enhance the drainage capacity of your potting mix, consider adding peat moss or perlite, which will help prevent waterlogging and reduce the risk of root rot.
- Monitor soil pH: Ensure that the soil pH stays within the slightly acidic range of 6.0 to 6.5. Use a soil pH testing kit to check the pH level and make adjustments as needed. If your soil is too alkaline, you can lower the pH by adding organic matter like peat moss, while if it’s too acidic, you can raise the pH by adding lime.
- Fertilize during the growing season: Feed your croton plant with a balanced liquid fertilizer, diluted to half-strength, every four to six weeks during the spring and summer months. This will supply essential nutrients for vigorous growth and impressive foliage.
- Follow manufacturer’s instructions: When using fertilizer, always adhere to the recommended dosage and application frequency as per the manufacturer’s instructions. Over-fertilizing can damage your Croton plant, leading to burnt foliage, reduced growth, and even root damage.
Croton Plant Pruning and Propagation Techniques
Pruning is key to maintaining your Croton plant’s shape and size. Do it in early spring or late fall, removing dead or damaged leaves and branches and pinching back growing tips for bushier growth. Wear gloves to avoid skin irritation from the milky sap.
To propagate crotons, take a 4-6 inch stem cutting with two leaves, remove the lower leaf, dip the cut end in rooting hormone, and plant it in moist, well-draining soil. Cover with a plastic bag or dome for humidity, place in a warm, bright spot away from direct sunlight, and keep the soil moist. Expect rooting in 4-6 weeks.
Common Pests and Diseases of Your Crotons

Keeping your Croton plant healthy requires vigilance in detecting and treating common pests and diseases. Mealybugs, spider mites, and scale insects can cause damage to your plant, while root rot and leaf drop may occur due to improper care. In this section, we’ll explore how to identify and manage these issues to maintain a thriving Croton plant.
Harmful Pests for Crotons
Here are some common pests that may cause harm to your Croton plants.
1) Mealybugs
These small, white, cottony insects can be found on leaves and stem, sucking the sap from your Croton plant. If left untreated, they can cause leaf drop and stunted growth. To control mealybugs, use insecticidal soap or neem oil, applying it according to the manufacturer’s instructions. For severe infestations, a systemic insecticide may be necessary.
4) Spider Mites
These tiny, spider-like creatures can be difficult to spot with the naked eye, but they leave fine webbing on the leaves and stems. They feed on the plant’s sap, causing yellowing and speckling on the leaves. Control spider mites by spraying your plant with insecticidal soap or neem oil and maintaining high humidity levels to discourage their presence.
3) Scale Insects
These small, round, brown, or gray pests attach themselves to the stems and leaves, feeding on the plant’s sap. They can cause leaf yellowing, wilting, and eventually leaf drop. Remove scale insects by wiping the plant with a cloth dipped in soapy water or applying neem oil or an appropriate insecticide to control the infestation.
Diseases That Are Harmful to Your Plant’s Health
Here are some common diseases that may cause harm to your Croton plants.
1) Root Rot
Overwatering and poor drainage can lead to root rot, a fungal disease that causes the roots to become mushy and discolored. To prevent root rot, use well-draining soil, avoid overwatering, and ensure your pot has drainage holes. If your plant is affected, remove it from the pot, trim away the damaged roots, and repot in fresh soil.
2) Leaf Drop
Sudden changes in temperature, light, or humidity levels can cause croton plants to lose their leaves. Maintain consistent environmental conditions for your plant, and avoid placing it near drafty windows, heating vents, or air conditioning units.
Temperature and Air Circulation for Croton Plants
To keep your Croton plants healthy and vibrant, it’s crucial to provide the right temperature and air circulation. The table below shows the ideal temperature range for Croton plants and how to ensure proper air circulation, both indoors and outdoors. By following them, you’ll be able to create an optimal environment for your Croton plants to thrive.
| Factor | Ideal Range | Tips for Maintaining |
|---|---|---|
| Temperature | 60-85°F (15-29°C) | Keep away from drafts, vents, or heaters |
| Air Circulation | Good circulation | Space plants, use a fan, or plant outdoors |
Guide to Repotting Your Croton Plant: 9 Steps to Follow

As your Croton plant grows, it may become root-bound and require repotting. Generally, you should repot your Croton plant every two to three years or when you notice that the roots are beginning to grow out of the drainage holes.
Repotting your Croton plant is necessary to ensure its continued growth and health. Here’s a detailed, step-by-step process to help you repot your plant successfully.
Step 1: Check for signs of root-binding
Observe your Croton plant for signs that it needs repotting, such as roots growing out of the drainage holes or the plant becoming top-heavy.
Step 2: Choose the right pot
Select a new pot that is one size larger than the current pot, with sufficient drainage holes to prevent waterlogging.
Step 3: Prepare the new pot
Place a piece of mesh or broken pottery over the drainage holes to prevent soil from escaping. Add a layer of fresh, well-draining soil mix to the bottom of the pot.
Step 4: Remove the plant from its current pot
Carefully tip the plant on its side and gently slide it out of the pot, keeping the root ball intact. If the plant is tightly root-bound, you may need to tap the sides of the pot or run a knife around the inside edge to loosen it.
Step 5: Inspect and trim the roots
Examine the root ball for any damaged or circling roots. Trim away any unhealthy roots using clean, sharp pruning shears.
Step 6: Position the plant in the new pot
Place the Croton plant in the center of the new pot, ensuring it sits at the same soil depth as it did in the previous pot. Spread the roots out gently to encourage outward growth.
Step 7: Add soil mix
Fill in the space around the plant with the well-draining soil mix, gently tamping it down to eliminate air pockets. Leave a small gap between the soil surface and the pot rim for easy watering.
Step 8: Water the plant
Thoroughly water your Croton plant after repotting, allowing excess water to drain out of the drainage holes.
Step 9: Place the plant back in its preferred location
Return the repotted plant to its preferred spot, ensuring it receives the appropriate light, temperature, and humidity levels.
By following these steps, you’ll successfully repot your Croton plant, providing it with the space and nutrients it needs to continue growing and thriving.
Final Thoughts
By providing your Croton plant with the appropriate care, including adequate light, proper watering and humidity, well-draining soil, regular fertilization, and timely pruning, you can keep your plants thriving all year round.
By being mindful of pests and diseases and addressing any issues promptly, you will ensure that your Croton plants remain healthy and beautiful for years to come.
Get to Know Your Croton Plant
| Indicator | Croton |
|---|---|
| Family | Euphorbiaceae |
| Genus | Codiaeum |
| Common Name | Croton |
| Origin | Southeast Asia, Indonesia, and Northern Australia |
| Plant Type | Evergreen perennial |
| Mature Size | Up to 3-8 feet in height, depending on variety |
| Growth Rate | Moderate |
| Light Requirements | Bright, indirect light |
| Watering Requirements | Regular, allowing the top inch of soil to dry between waterings |
| Soil Preference | Well-draining, slightly acidic potting mix (pH 6.0-6.5) |
| Temperature Tolerance | 60-85°F (15-29°C) |
| Humidity Tolerance | Moderate to high humidity |
| Fertilization | Every 4-6 weeks during the growing season with a balanced liquid fertilizer, diluted to half-strength |
| Propagation | Stem cuttings |
| Pests | Spider mites, mealybugs, scale insects |
| Diseases | Root rot, leaf spot |
| Toxicity | Mildly toxic to pets, skin irritant to humans |
| Special Features | Colorful, variegated foliage, tropical appearance |
| Popular Uses | Indoor and outdoor decoration, container gardening, landscape plantings, mixed borders, accent plants |
We hope this comprehensive guide on Croton plant care helps you keep your plants thriving all year round. If you have any questions, tips, or experiences to share, we’d love to hear from you! Please feel free to leave a comment below, and let’s continue learning and growing together as a community of plant enthusiasts.
Happy gardening!


